Medlar Heirloom Superfruit tree seeds .Hardy Zone 5


Description
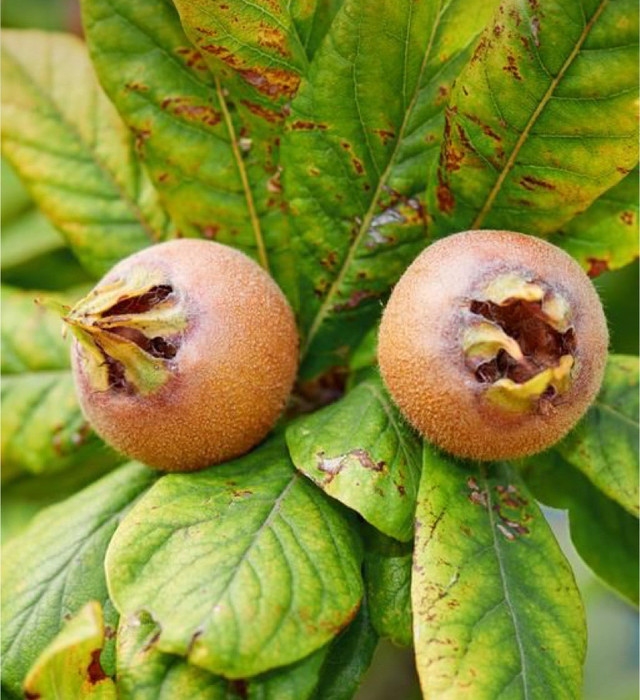
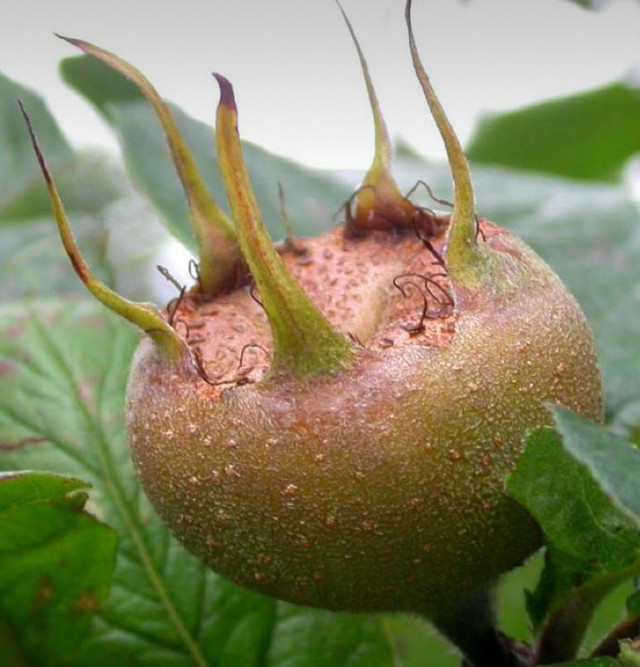
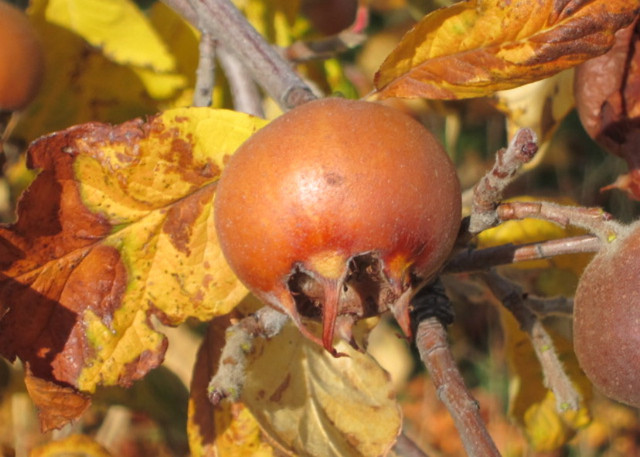
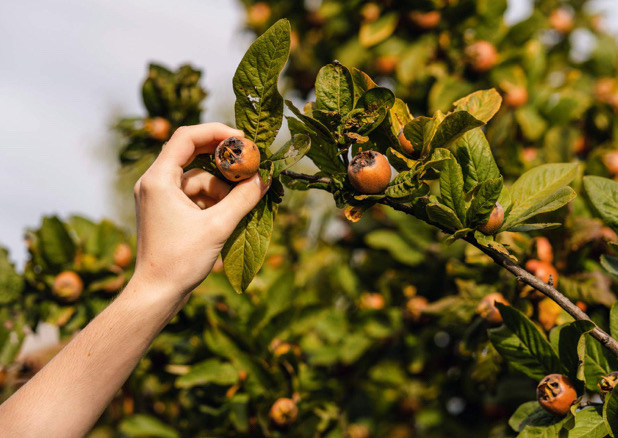
Medlar fruit tree 7 seeds . Heirloom Superfruit Although little known in Canada , Medlars have been grown in Europe for thousands of years. They are attractive small, self-fertile, tip-bearing trees that grow to 10' with healthy foliage, white flowers and unusual 1 inch diameter round fruits that are collected in the fall, after the first frosts. When picked, the fruits are much too hard to eat immediately. If allowed to ripen for a few weeks in a cool lighted place they undergo a process called bletting and become soft, spicy and very rich, with a cinnamon-applesauce flavor. Fruit is eaten raw or made into jam. Ripens mid to late October . Medlar are super hardy , all the way down to zone 5 Zone 5-9. Keep refrigerated before planting . What is medlar fruit? The medlar fruit is a member of the pome family (related to apples and quinces), peculiar since it is only eaten once it’s been 'bletted', that is, rotted. Not quite purple and not quite red, the vitamin-packed fruit turns brown and soft when edible. And unlike other fruits, medlars are available in winter, making this rather maligned shrub fruit a great seasonal choice. The origins of medlar fruit The medlar, or Mespilus germanica, has been cultivated since ancient times and was once a commonly eaten and symbolic fruit described in literary prose. The tree is native to the area surrounding modern-day Iran and was introduced to Western Europe by the Romans. It used to be widely eaten in Britain through the 19th century but fell out of favour when more appealing fruit and sugary sweets came into popularity. How to use medlar fruit Medlars are harvested around November, preferably after a period of frost which allows the fruit to better ripen. They are then to be stored in dark and cool places whilst the bletting process continues, such as in ventilated wooden boxes lined with straw or paper. They can also just be placed and covered on a plate, with the bottom end face down. Bletting takes some time, but once the fruits start to brown and get wrinkly - fermented - you know you’re on your way. Very ripe medlar will burst at the lightest touch, so take caution when you’re taking the pulp out. Peel off the stalk gently, hold the crown, and squeeze the flesh out. They have a few large pips, so be careful to remove those before eating. With a squidgy pulp and texture, medlars lend themselves well to numerous applications. Once fully bletted they can be eaten raw alongside crème fraîche or yoghurt and are a great accompaniment to cheese. Or, purée the pulp with melted butter or cream and add honey or sweet spices to soften the flavour, along with a dash of port. As the fruit is high in pectin, it’s well-suited for making into jelly or paste by cooking then sieving and adding sugar if you choose. Another popular way of preparing them is by turning them into “medlar cheese,” a type of curd with eggs, butter and sugar. What does medlar fruit taste like? There are different varieties of the medlar fruit, the most available and flavoursome being Royal and Nottingham. Other varieties have slightly different tastes, and some are known as an entirely different fruit. The Spanish medlar, also known as the Spanish cherry, is small and bright orange and has traditionally been used for mouthwash. The Red medlar is actually the goji berry, eaten when dried and chewy. The Japanese medlar, meanwhile, is really a loquat tree and is sometimes called a Japanese or Chinese plum - or in Italy nespole, out of which is made a liqueur called nespolino. Bletting is necessary to turn the otherwise hard and astringent flesh into an edible fruit. When completely bletted, the medlar is very squishy and very sweet. Its taste is similar to an over-ripe date, complex and sugary. Some say it has a flavour like toffee apples or apple butter, with a hint of acidity balancing out the sweetness. Germination 1. Container and Soil Choosing the right container and soil is vital for successful germination. Select small pots or seed trays with drainage holes to prevent waterlogging. Fill them with a well-draining potting mix, ensuring it’s light and airy. 2. Planting Plant the stratified seeds about an inch deep in the soil. Sow multiple seeds in each pot to increase the likelihood of successful germination. This stage requires patience, as germination may take several weeks 3. Watering Maintain consistently moist soil, ensuring it doesn’t become waterlogged. Adequate moisture is crucial for the germination process. Be attentive to the water needs of the seeds and seedlings. 4. Temperature Place the pots or trays in a warm location with indirect sunlight. Once the seedlings emerge, gradually expose them to more direct sunlight. Medlar trees thrive in well-lit environments, so providing ample light is crucial for their healthy development